
How to fit a natural skin banjo vellum
When the time comes to fit a new vellum, it is also a good time to clean all the metal parts of your banjo and remove all grime and dust from the inside of the banjo rim! (The ‘rim’ is sometimes called the hoop) Vellums (Sometimes called ‘banjo heads’ or skins) are available at Eagle Music Shop in different qualities and types. Calf skin and goat skins are the most popular. Natural white calf skins are the most expensive. Order a skin that is larger in diameter than the banjo rim, normally 30mm excess all around is sufficient, this allowance is for pulling around the flesh band (sometimes called the vellum wire), and gives you some leeway for cutting off and finishing the job neatly on the inside of the bezel (sometimes called the stretcher band or hoop).
Firstly study how your banjo ‘pot’ (The pot is the whole assembly) is assembled (If you have a camera, take some photos to remind you later) note the position of the bezel in relation to the neck, tailpiece and rim. (Banjo parts can be distorted and ‘out of round’ from years of use or abuse!).
Remove the strings from your banjo and commence to strip down the ‘pot’. Keep all the tensioning hooks (Sometimes called brackets or ‘J’ hooks) and nuts as they are matched (This makes it easier to assemble later, as threads can differ from one hook to another).
Take some time out here to clean all the metal parts. Please Note: Take care with plated parts, and do not use abrasives on gold or thin nickel plating.
Now is the fun part, To Mount Your New Vellum on The Flesh Band/Vellum Wire.
Study the new vellum and note which is the ‘face’ and which is the ‘back’. The ‘face’ is normally smooth and the ‘back’ is normally rough. This is very important, as I have seen a fair number of vellums fitted the wrong way around!
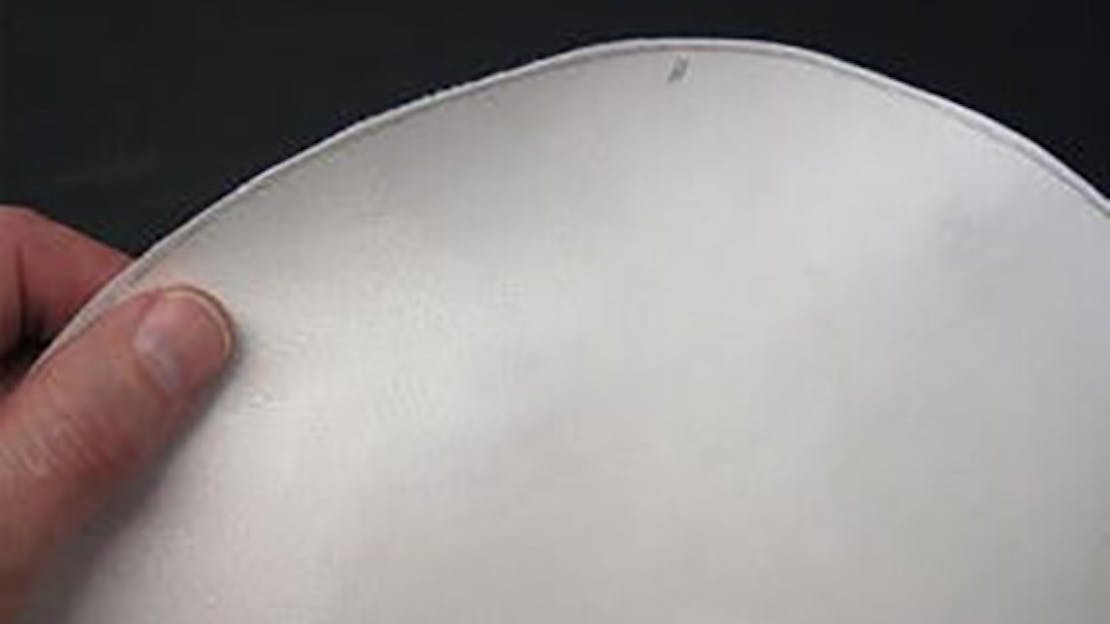
Have a large clean towel at the ready, laid out on a flat area. Fill a large clean bowl with fresh clean cold water. Immerse the vellum completely in the bowl of water and leave until the vellum is supple, this normally takes about ten minutes depending on the thickness of the vellum. Remove the vellum from the water and shake off the excess water, place the vellum ‘face’ side up on the flat towel. Visually check that there are no wrinkles in the vellum and feel that the vellum is supple. Place the ‘flesh band’ (Sometimes called the vellum wire) central on the vellum leaving an equal amount of surplus skin around the edges. Holding the bezel above the ‘flesh band’, start to fold the surplus skin up and around the outside of the ‘flesh band’ and at the same time folding and tucking it inside the bezel and working in a circle motion around the whole circumference of the bezel. Visually check all around the vellum for evenness.
Now working with the hoop on your banjo, evenly spaced around your banjo’s hoop, fit half a dozen of your banjo’s tension hooks and nuts. Ensure that they are loosely fitted and ready to accept your new vellum. Now place your new vellum, flesh band and bezel assembly onto your banjo hoop. Here you can note if your bezel has a weld joint and position this to be hidden underneath your tailpiece. Position the vellum assembly carefully and evenly around the hoop and locate the six tension hooks in position. Note: do not over tighten the tension hooks at this stage but visually check that they are evenly pulling down on the vellum. Seeing that no folds or wrinkles appear and ease the vellum up and under the bezel and ensure that there are no overlaps or folds as it passes over the ‘flesh band’. Gently press down in the centre of the vellum to give a little ‘slack’ in the vellum for later tensioning after the vellum has dried. Visually check again that the bezel is pulling down even and gently tighten the six tension hooks to leave the bezel slightly higher than the face of the vellum. The bezel will be tightened down to it’s final position when the banjo is assembled before being finally ‘set up’ for playing. Have a last final check that the vellum is evenly stretched and that there are no wrinkles or folds evident.
Now lay the whole pot assembly on one side in a clean dry position, in a cool dry room. Under no circumstances should you use a ‘hair dryer’ or any form of heat to speed up the drying process. Leave for at least twenty four hours, best to leave even longer to ensure that the whole of the new vellum is dry. Please Note: The part of the vellum under the bezel will take much longer to dry than the face of the vellum, so don’t rush the process when you ‘feel’ that the face of the vellum is dry!
After a day or so, remove the vellum from the hoop by undoing the six fitted tension hooks. Leave the vellum ‘off’ the hoop for a further few hours, this will allow the mating parts to further dry out. The vellum should not feel ‘tacky’ and should not stick to the hoop. If you try to fit a vellum that is not completely dry, you can cause distortion of the vellum or even cause it to split. When you are quite sure that the vellum is completely dry, this is the time to finish off the vellum by trimming the excess skin from the inside of the bezel. Use a sharp ‘Stanley’ type knife for this process, it is also good practise to protect the face of the vellum with a thin piece of card or plastic (a piece of old banjo head is ideal for this purpose) as you work around the circumference of the bezel.
Now to Fit Your New Vellum to Your Banjo Rim
Sprinkle some French chalk on the inside of the vellum in the area where it locates with the rim, and shake of the excess before offering it to the rim. Note the orientation of the bezel and place any welding joints in position so that the tailpiece will cover the join. Fit all tensioning hooks and nuts until finger tight. Working diagonally and evenly, tension each hook and nut so that the bezel pulls the vellum down evenly. Correct vellum tension is a personal choice. However, the vellum needs to be tight enough so that when pressed with your thumbs, you feel a reasonable tension and no sign of ‘sagginess’.
Experience will teach you how tight your vellum needs to be. Please do not hesitate to contact our technical department at Eagle Music Shop if you need more information. Tel:01484 661460.